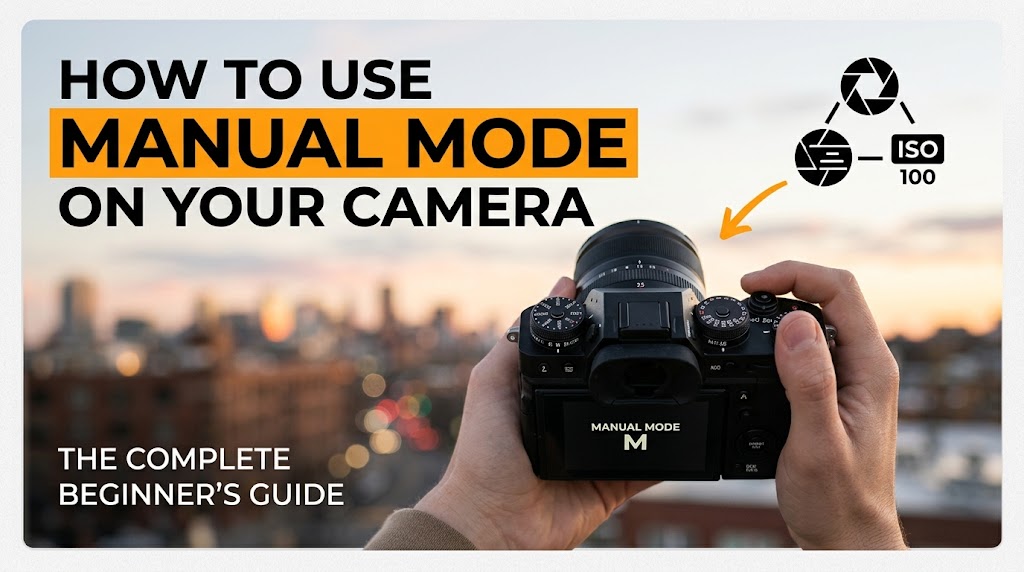
For many photographers, turning the camera dial from “Auto” or “Program” to the letter “M” feels like stepping off a cliff without a parachute. For years, your camera has acted as a smart assistant, making split-second decisions about brightness, focus balance, and color science. Taking off those training wheels can feel intimidating. What if the image comes out pitch black? What if the highlights are completely blown out?
Yet, stepping into Manual Mode is the single most transformative milestone in your photography journey. It shifts your role from a passive recorder of moments to an active artist shaping light, motion, and emotion.
Whether you are looking to capture silky waterfalls, tack-sharp Milky Way starscapes, or dramatic studio portraits with razor-thin depth of field, Manual Mode gives you the keys to the kingdom. This guide will walk you through the absolute fundamentals, an actionable shooting workflow, common pitfalls, and real-world scenarios so you can shoot with absolute confidence.
1. Demystifying the Exposure Triangle (The Core Foundation)
Every digital photograph is created by exposing a digital sensor to light. To master Manual Mode, you must master the Exposure Triangle—the three pillars that dictate how light enters, interacts with, and is recorded by your camera.
          [ Aperture ]
         /            \
        /              \
[ Shutter Speed ] ---- [ ISO ]
If exposure is a bucket of water, changing one corner of the triangle alters how much water enters or how it is measured. Adjusting one setting requires a compensatory shift in another to maintain balanced exposure.
Aperture (Depth of Field & Light Gathering)
Aperture refers to the opening inside your lens diaphragm through which light passes, measured in f-stops (e.g., f/1.8, f/4, f/11).
-
A wide aperture (e.g., f/1.8): Lets in massive amounts of light and creates a shallow depth of field, resulting in a sharply focused subject against a beautifully blurred background (bokeh). Perfect for portraits and low light.
-
A narrow aperture (e.g., f/16): Lets in less light and creates a deep depth of field, keeping everything from the foreground wildflowers to the distant mountains in focus. Ideal for landscapes and architectural photography.
Pro Tip: Remember the inverse rule of f-numbers: smaller numbers mean larger openings (more light, blurry background), while larger numbers mean smaller openings (less light, deep focus).
Shutter Speed (Motion Blur vs. Freezing Action)
Shutter speed is the length of time the camera’s shutter curtain remains open, exposing the sensor to light. It is measured in seconds or fractions of a second (e.g., 1/1000s, 1/60s, 2 seconds).
-
Fast shutter speeds (e.g., 1/2000s): Freeze split-second action, such as a soaring eagle, a splashing water droplet, or a running athlete, eliminating motion blur.
-
Slow shutter speeds (e.g., 2 seconds): Introduce intentional motion blur, turning cascading waterfalls into silky mist or city traffic into streaks of light.
Example: If you are shooting handheld, a good rule of thumb to avoid camera shake is to keep your shutter speed at least reciprocal to your focal length (e.g., at 50mm, use a minimum shutter speed of 1/50s or faster).
ISO (Sensor Sensitivity & Digital Noise)
ISO measures your camera sensor’s sensitivity to light. Lower numbers mean lower sensitivity; higher numbers amplify the signal to capture images in dim environments.
-
Low ISO (ISO 100 – 400): Delivers pristine image quality, rich dynamic range, and minimal digital grain. Use this in bright daylight or studio lighting.
-
High ISO (ISO 3200 – 12800+): Allows you to shoot in dark settings (like indoor events or night streets) without dropping your shutter speed too low, but introduces digital noise (grain) and reduces color fidelity.
2. How the Light Meter Works (Your Guide in Manual)
When you switch to Manual Mode, the camera no longer alters settings for you, but its internal computer still evaluates the scene. Enter the in-camera light meter.
Reading the Metering Bar
Look through your viewfinder or at your LCD screen. You will see a scale that looks like this:
-3 . . -2 . . -1 . . 0 . . +1 . . +2 . . +3
-
The Indicator (Tick Mark): Tells you how balanced your exposure is based on the camera’s internal algorithm (which targets an average 18% neutral gray tone).
-
At 0: The scene is balanced according to the meter.
-
To the Left (Negative): The image will be underexposed (darker).
-
To the Right (Positive): The image will be overexposed (brighter).
Understanding Metering Modes
Your camera reads light differently depending on the setting you choose:
-
Matrix / Evaluative Metering: Analyzes the entire frame, balancing bright skies and dark shadows. Great for general landscapes and travel photography.
-
Center-Weighted Metering: Prioritizes the central portion of the frame while accounting for the surrounding area. Excellent for classic portraiture.
-
Spot Metering: Measures light from a tiny point (typically 1–3% of the frame) where your active autofocus point rests. Essential for high-contrast scenes, like a performer spotlighted on a dark stage.
3. A Step-by-Step Workflow for Setting Manual Exposure
When facing a new scene, amateur photographers often spin all three dials randomly until the image looks okay. Professionals follow a deliberate hierarchical workflow dictated by creative priority.
Step 1: Choose Aperture (Set your artistic depth of field)
   ↓
Step 2: Set Shutter Speed (Freeze or blur motion based on subject)
   ↓
Step 3: Tune ISO (Lock in baseline exposure and handle remaining light)
Step 1: Lock in Your Aperture First
Ask yourself: What is my creative goal regarding depth of field?
-
If shooting a single portrait, set your lens wide open at f/2.8 to isolate your subject.
-
If shooting a sweeping mountain vista, set your aperture to f/11 for edge-to-edge sharpness.
Step 2: Set Your Shutter Speed Next
Ask yourself: Is my subject moving, or am I shooting handheld?
-
If your subject is walking or running, dial in 1/500s or faster.
-
If your subject is completely stationary and you are on a sturdy tripod, you can drop your shutter speed down to 1/30s or lower, keeping ISO low.
Step 3: Adjust ISO as the Final Bridge
Look at your exposure meter. If the indicator is leaning heavily to the left (underexposed), roll your ISO upward until the tick mark rests cleanly at 0.
4. Common Lighting Scenarios & Manual Mode Setups
Theory is essential, but application solidifies mastery. Here are three common real-world shooting scenarios and how to configure your manual dials for each.
Scenario A: Golden Hour Portraiture
-
The Goal: A creamy, blurred background with a tack-sharp subject and soft, flattering skin tones.
-
Aperture:
f/2(Maximizes background separation). -
Shutter Speed:
1/250s(Fast enough to eliminate subtle hand shake or light breeze movement). -
ISO:
100(Maintains maximum dynamic range in the evening sun).
Scenario B: Fast-Moving Sports / Action
-
The Goal: Absolute clarity on a fast-moving athlete, freezing every droplet of sweat or spinning basketball.
-
Aperture:
f/4(A safe sweet spot that ensures sharp focus even if the player moves slightly outside the focal plane). -
Shutter Speed:
1/1600s(Ultra-fast to freeze rapid motion completely). -
ISO:
800or1600(Bumped up to compensate for the very short exposure time letting less light in).
Scenario C: Dramatic Night Street Photography
-
The Goal: Capture atmospheric city lights without motion blur from walking or car movement.
-
Aperture:
f/2.8(To gather as much ambient street light as possible). -
Shutter Speed:
1/125s(The minimum safe threshold for walking and shooting handheld). -
ISO:
3200or6400(Higher sensitivity required to balance the exposure in dark urban environments).
5. Common Pitfalls and Mistakes to Avoid
Even experienced creators occasionally fall into bad habits when working in Manual Mode. Watch out for these traps:
-
Trusting the LCD Screen Brightness: Camera screens are backlit and often appear much brighter than they actually are. If you shoot outdoors on a bright sunny day, a dark image will look deceptively bright on your LCD. Always check your Live Histogram (a graphical representation of tones from shadows to highlights) to ensure highlights aren’t clipped.
-
Fear of High ISO: Many beginners refuse to push past ISO 400 out of fear of noise. Modern camera sensors handle high ISO remarkably well. A sharp, slightly grainy image at ISO 6400 is vastly superior to a blurry, unusable image taken at ISO 100 because your shutter speed was too slow.
-
Forgetting to Reset Settings: Walking indoors from bright sunlight into a dim room without adjusting your manual settings will yield a completely black frame. Build a habit of returning your camera to a baseline or checking your exposure every time your environment changes.
6. Frequently Asked Questions (FAQ)
When should I not use Manual Mode?
Manual mode is unnecessary when lighting conditions change rapidly and unpredictably—such as shooting wildlife running in and out of dense forest canopies or fast-paced photojournalism. In these situations, professional photographers frequently use Aperture Priority (A/Av) or Shutter Priority (S/Tv) modes with Auto ISO enabled to maintain creative control over one variable while letting the camera manage the rest.
How do the three elements of the exposure triangle balance each other?
They operate in exact proportional increments called stops. If you widen your aperture by one stop (letting in twice as much light), you must compensate by either doubling your shutter speed (making it twice as fast) or cutting your ISO in half to maintain the exact same overall exposure brightness.
How do I know if my photo is properly exposed in Manual Mode?
Beyond the in-camera meter reading zero, check your histogram. If the graphical data on the histogram is pushed hard against the right edge, your highlights are overexposed (“blown out”). If it is jammed hard against the left edge, your shadows are crushed into pure black. A balanced histogram usually spreads naturally across the center.
Can I use Auto ISO while in Manual Mode?
Yes! Many modern mirrorless and DSLR cameras allow you to set your preferred Aperture and Shutter Speed manually while setting the ISO to Auto. This creates a powerful hybrid mode where you maintain complete control over depth of field and motion blur while the camera seamlessly handles dynamic lighting changes.
Conclusion & Call to Action
Mastering Manual Mode is not about memorizing complex formulas; it is about building muscle memory and understanding how light interacts with your camera sensor. By taking deliberate control over Aperture, Shutter Speed, and ISO, you stop guessing and start creating images that accurately reflect your artistic vision.

Alex Turner is a dedicated product researcher and reviewer at TopBuyGuide.com, known for his clear, honest, and data-driven insights. He spends countless hours testing, comparing, and analyzing products to help readers make confident and informed buying decisions.