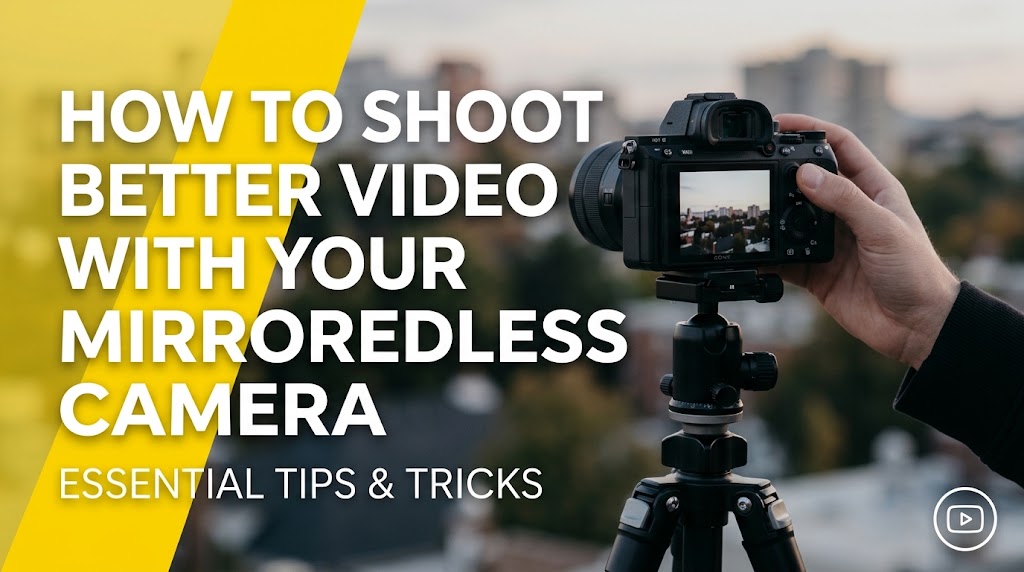
The transition from photography to videography can feel like learning a completely new language. You already know how to compose a stunning frame, understand exposure, and manipulate light using your mirrorless camera. However, the moment you press the record button, a new dimension opens up—one defined by motion, time, audio, and continuity.
Modern mirrorless cameras are absolute powerhouses. Models from Sony, Canon, Fujifilm, and Panasonic pack cinematic capabilities—such as 4K resolution, 10-bit color depth, and in-body image stabilization (IBIS)—into bodies small enough to slip into a jacket pocket. Yet, simply owning a high-end mirrorless camera doesn’t automatically translate into cinematic video. Shutter speed rules change, audio becomes half the experience, and stabilization requires deliberate physical technique.
Whether you are shooting commercial client work, building a YouTube channel, or capturing personal travel stories, this comprehensive guide will walk you through everything you need to know to transform your flat, shaky clips into professional, cinematic masterpieces.
1. Mastering Camera Settings for Cinematic Video (The Foundation)
If you shoot video on full auto, your camera will make erratic exposure choices, shift shutter speeds mid-shot, and ruin your motion blur. Taking full manual control is the non-negotiable first step toward professional videography.
Frame Rates and Shutter Speed: The 180-Degree Rule
Unlike photography—where shutter speed is used purely to freeze motion or let in light—videography uses shutter speed to dictate how motion is perceived. To achieve natural, pleasing motion blur that mimics the human eye, you must follow the 180-Degree Shutter Rule.
Your shutter speed should be double your frame rate:
-
If shooting at 24fps (the cinematic standard), set your shutter speed to 1/48s (or 1/50s on most cameras).
-
If shooting at 60fps (for smooth slow-motion), set your shutter speed to 1/120s (or 1/125s).
Pro Tip: Violating this rule by using a high shutter speed (like 1/500s at 24fps) creates “stuttery” or hyper-sharp footage, often referred to as the Saving Private Ryan combat effect. Unless you are intentionally looking for that look, stick strictly to the 180-degree rule.
Resolution and Bitrate: 4K vs. 1080p and Color Depth
While 4K resolution has become the baseline for modern content, you don’t always need to shoot in 4K.
-
4K (Ultra HD): Essential if you plan to crop into your footage, re-frame in post-production, or deliver to demanding corporate clients.
-
1080p (Full HD): Excellent for high frame-rate slow motion (120fps+) or when you need to conserve SD card space and rendering time.
Whenever possible, shoot in 10-bit color rather than 8-bit if your camera supports it. 10-bit recording captures over 1 billion colors compared to 8-bit’s 16.7 million, drastically reducing color banding (especially in skies or gradients) and giving you immense flexibility in color grading.
Mastering Exposure: Aperture, ISO, and ND Filters
In video, you cannot rely on changing your shutter speed to control exposure because it is locked by your frame rate. Instead, exposure is managed via Aperture, ISO, and Neutral Density (ND) filters.
Keep your ISO as low as possible (typically your camera’s native ISO, such as ISO 100 or 800 for dual-native ISO bodies) to minimize digital noise. Control depth of field with your aperture. But what happens when it’s a bright sunny day and you want an aperture of f/1.4 for a blurry background?
This is where an ND filter becomes mandatory. An ND filter acts like sunglasses for your camera lens, cutting down incoming light so you can maintain a wide aperture and a 1/50s shutter speed without blowing out your highlights.
2. Lens Selection and Stabilization Techniques
Great glass and steady motion separate amateur home videos from professional cinema. Let’s look at how to select the right equipment and keep your footage buttery smooth.
Choosing the Right Glass: Primes vs. Zooms
While kit lenses are great for learning, investing in dedicated video glass changes everything.
-
Prime Lenses (e.g., 35mm f/1.8, 50mm f/1.4): Offer wider apertures for gorgeous background blur (bokeh) and low-light performance. They are usually sharper and more compact.
-
Zoom Lenses (e.g., 24-70mm f/2.8): Provide incredible versatility for run-and-gun shooting, allowing you to reframe instantly without changing physical position.
Example: If you are filming an interview or a talking-head video in a controlled studio, a 50mm or 85mm prime lens provides a flattering compression and subject separation. If you are documenting a live event or travel vlog, a 24-70mm zoom is indispensable.
Stabilization: IBIS, Gimbals, and Handheld Tricks
Shaky footage instantly screams “amateur.” Modern mirrorless cameras feature In-Body Image Stabilization (IBIS), which uses sensor-shift technology to counteract hand tremors. However, different scenarios demand different tools:
-
Tripod: Absolute stability for static interviews, landscapes, and product shots.
-
Gimbal: Essential for sweeping, cinematic tracking shots, walking sequences, and dynamic camera movements.
-
Handheld with IBIS + Ninja Walk: If going completely naked handheld, tuck your elbows into your ribs, widen your stance, and walk “heel-to-toe” to absorb vertical bounces.
3. Capturing Professional Audio (The Underrated Half of Video)
Audiences will forgive slightly soft video, but they will click away instantly from terrible audio. Built-in camera microphones are notoriously bad—they pick up internal motor noise, wind, and room echo. Upgrading your audio setup is the fastest way to elevate your video quality.
Microphone Types and When to Use Them
-
Shotgun Microphones: Mounted on top of the camera shoe, these directional mics reject side noise and capture audio cleanly from whatever the lens is pointing at. Perfect for run-and-gun vlogging.
-
Wireless Lavalier Microphones: Clipped directly to the talent’s clothing (e.g., Rode Wireless GO or DJI Mic). This places the mic inches away from the mouth, ensuring crystal-clear dialog even in noisy environments.
Monitoring and Managing Levels
Always plug headphones directly into your mirrorless camera while recording to monitor audio in real time. Set your recording levels manually rather than using auto-gain, keeping peaks hovering between -12dB and -6idB to prevent audio clipping and distortion.
4. Color Profiles, Lighting, and Composition
Cinematic look and feel is achieved through intentional color science, lighting design, and framing.
Flat Profiles (Log/HLG) vs. Rec. 709
If you shoot in standard picture profiles, your camera bakes contrast and saturation directly into the file. While convenient, it limits editing flexibility.
-
Log Profiles (e.g., Sony S-Log3, Canon C-Log, Fujifilm F-Log): Capture an ultra-flat, desaturated image with crushed shadows and lifted highlights, preserving maximum dynamic range. You then apply a conversion LUT (Look-Up Table) and grade the colors in post-production.
-
Rec. 709 / Standard: Best for quick turnarounds where grading time is limited.
Three-Point Lighting Setup
Lighting is the brush with which you paint your video. Even a basic three-point setup transforms flat rooms into studio-quality sets:
-
Key Light: Your primary, brightest light source placed at a 45-degree angle to the subject.
-
Fill Light: A softer, dimmer light placed on the opposite side to fill in harsh shadows.
-
Backlight (Rim Light): Placed behind the subject pointing toward the camera to separate them from the background.
[Backlight / Rim Light]
         [Subject] <--- [Key Light (45°)]
            ^
            |
    [Fill Light (Soft)]
5. Common Pitfalls and Mistakes to Avoid
Even experienced photographers make critical errors when transitioning to video. Watch out for these traps:
-
Relying on Auto-White Balance (AWB): In changing lighting conditions, AWB causes distracting color shifts mid-shot. Always lock your white balance to a specific Kelvin value (e.g., 5600K for daylight, 3200K for tungsten).
-
Ignoring Focus Breathing: Some lenses change focal length slightly when pulling focus, causing the framing to zoom in and out. Be aware of your lens optics.
-
Shooting Too Wide Open All the Time: While f/1.4 looks dreamy, it leaves an extremely narrow margin for error. If your subject leans forward by an inch, they will instantly fall out of focus. Stop down to f/2.8 or f/4 for moving subjects.
-
Forgetting to Format SD Cards: Always format your cards in-camera before every major shoot to prevent file corruption and data loss.
Frequently Asked Questions (FAQ)
What shutter speed should I use for 24fps video?
You should use a shutter speed of 1/50s (or 1/48s). This adheres to the 180-degree shutter rule, providing natural motion blur that looks organic to the human eye.
Do I need an ND filter for my mirrorless camera?
Yes, if you plan to shoot outdoors in bright daylight while maintaining a wide aperture (like f/1.8 or f/2.8) and a 1/50s shutter speed, an ND filter is essential to prevent your footage from becoming completely overexposed.
Is 10-bit video necessary for beginners?
While not strictly mandatory for casual shooting, 10-bit video is highly recommended if you plan to color grade your footage, adjust shadows and highlights, or shoot in challenging high-contrast lighting environments.
How do I prevent my mirrorless camera from overheating during long video shoots?
To prevent overheating, turn off your camera between takes, flip out the screen to allow better heat dissipation, lower the screen brightness, avoid shooting in direct sunlight when possible, and record in sensible resolution/frame rate increments rather than continuous long takes.
Conclusion & Call to Action
Shooting better video with your mirrorless camera is a journey of shifting from automated capture to deliberate, intentional control. By mastering the 180-degree shutter rule, stabilizing your movements, prioritizing clean external audio, and taking command of manual exposure and lighting, your footage will instantly bridge the gap between amateur snapshots and professional cinema.
Ready to elevate your filmmaking skills? Grab your mirrorless camera, switch it over to manual mode today, and practice shooting a 30-second cinematic sequence following these exact principles. Drop a comment below with your favorite lens or share what camera you are currently shooting with!

Alex Turner is a dedicated product researcher and reviewer at TopBuyGuide.com, known for his clear, honest, and data-driven insights. He spends countless hours testing, comparing, and analyzing products to help readers make confident and informed buying decisions.